A simple blogging site for personal use
This is how I quickly hosted the platform where this blog exists that you are reading right now.
There isn’t a way to post comments as of now. You’ll need to ping me on social platforms.
All I required was a text editor with dev container support (like VS Code), Docker and Github account. For deployment there are many static site hosting platforms. I am going with firebase hosting for deploying my site. As per the advice of one of my close friends, Guruvardhan this is built using Astro (MDX pages for blogging).
Understanding the flow
There are many templates available in astro library. The one I’m using is Lance Ross astro basic template.
Folder structure
src
├── components
├── images
├── layouts
│   ├── BlogLayout.astro
│   └── Layout.astro
└── pages
    ├── 404.astro
    ├── index.astro
    ├── posts
    │   ├── but-why-tho.mdx
    │   ├── how-to-deploy.mdx
    │   └── markdown-styling.mdx
    ├── posts.astro
    └── rss.xml.ts
src/pages/posts is where the blog posts live. All these mdx files are different blogs.
src/pages/*.astro contains the main view components of the website. The layouts are defined at src/layouts.
rss.xml.ts is the configuration for my blog’s RSS feed. You can subscribe using Feedly or any other newsreader app.
Publishing the blog
The defaut branch for my blog repository is called publish. Any pushes to this will automatically trigger the rebuilding and publishing of the website.
So I create a new branch for each of my new blogs and when I’m finished, I just merge the changes to publish branch. This triggers the deploy-firebase workflow which pushes the build to firebase hosting. And the updated blog is live within seconds.
How to launch your own instance
You can always fork my repository here. You may need to activate GitHub Actions in your repository. Better way is to use Lance Ross astro basic template.
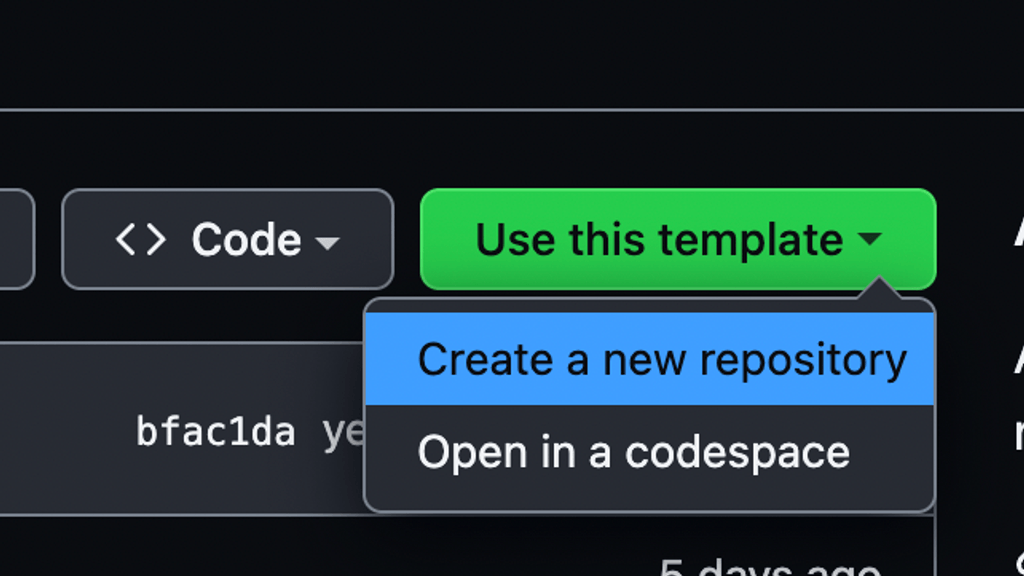
Click on Use this template -> Create a new repository. This will help you to create a new repository using the template. You can customize your repository as you like.
For firabse hosting, you’ll need to create a new app from their website. Update the .firebasesrc with the name of your app. You’ll also need firebase-cli to generate the auth token. Simply run firebase login:ci from your terminal to get this token. Save this token as GitHub Action secret as key value with key as ‘FIREBASE_TOKEN’ and value as the token you generated.
Get a custom domain and link it to firebase hosting
- Create an account on Porkbun and buy a domain of your liking.
- Go to firebase and click on hosting. There you can find
Add custom domainbutton.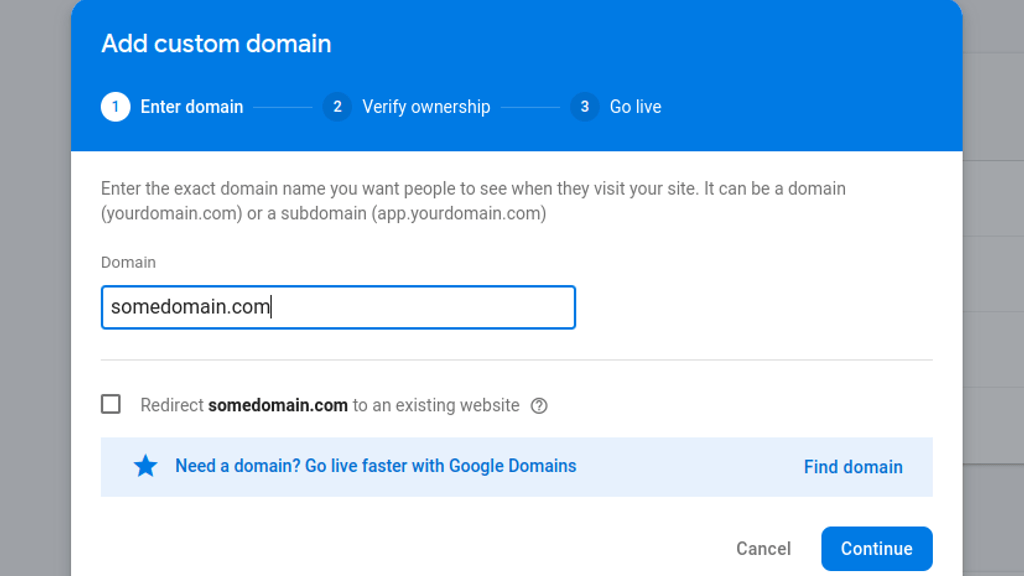
- Clicking this will ask you to provide your domain (Example: shubham.codes). Don’t mention ‘https’ or ‘www’.
- In the next steps, it will ask you to update
AandTXTrecords with your domain provider which is porkbun in our case.- Go to porkbun and click on the
Detailsbutton on your domain name. - Click on DNS record and update the
AandTXT.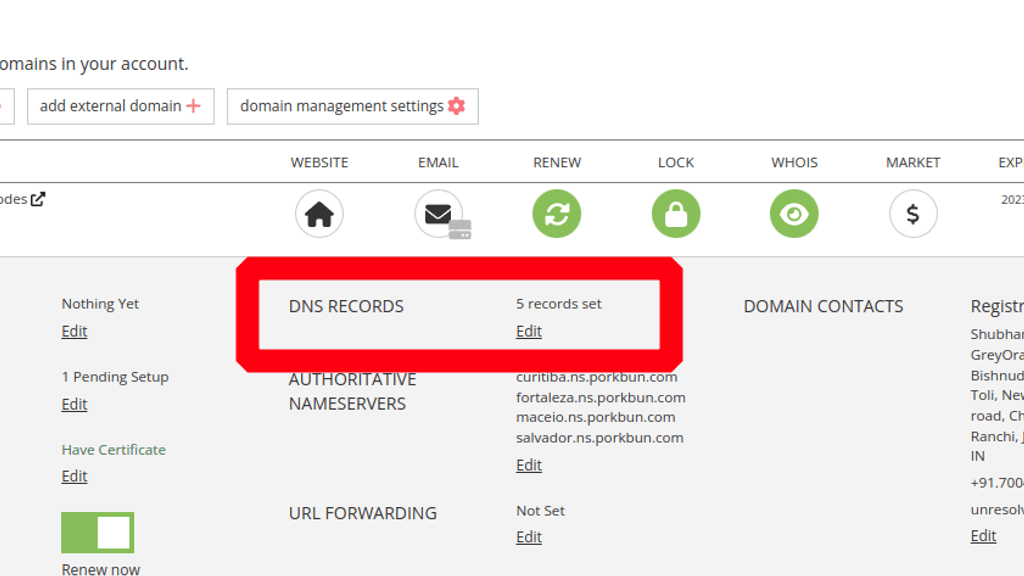
- It takes some time to get activated. It’s mentioned 24 hours but for me it took around 2 hours.
- Go to porkbun and click on the